

Monday, March 30, 2015
Easter Card
These little cards measure 3.25 x 4.25. Very simple to make. The diecuts are made using Papertrey Ink, Scene It: Skyscapes Die Collection; and the little church is cut using the Petite Places church die.

Sunday, March 29, 2015
Easter Cards for Grandkids
These little cards vary in size, but most are 3.25 x 4.25. I used the Hippity Hop stamps and dies from Papertrey Ink for the rabbits. The backgrounds are the square image from PTI's On the Farm set. The little pennant flags are from the Make it Market Mini: Clipsters kit. I used a stamp from this kit to emboss a little pennant onto the dotted vellum overlay on one card. These cards are quite simple, but I think the grandkids will like them. My MISTI made it easy to get the bunny images placed perfectly onto the diecut!

Saturday, March 21, 2015
Chicken Scratch Apron
Chicken scratch seems to be popular these days. Here is an apron that I stitched over 50 years ago! The chicken scratch stitch at the waist band actually goes through 3 layers, to create pleats and therefore "cinch-in" the top of the apron. My Aunt Helen showed my sister and I how to do this stitch, and then supervised us while we stitched our aprons. I think we were not happy girls, because we wanted to be playing in the summertime, and not spending our time stitching aprons!

Wednesday, March 4, 2015
Doodling with Stamps Project
This is my project for the Papertrey Make it Monday Doodling with Stamps. First let me say that I CASE'd a pretty card made by Laura Bassen, for inspiration to make the center of my card.
For the doodling, I used the Rosie Posie stamp set. I don't have the Step 2 stamps for the shading, so I just used a brush and some darker ink to add shading. The doodling was done with a Micron Pigma pen that was about out of ink, but I made it through. I added a few filler sketchy dandelions. The sky is the new PTI vellum and I popped up the finished panel in order to let the transparency of the vellum show up nicely.
The center uses the new Scene It:Skyscapes, and the little pop up tree, as well as the church diecut.

For the doodling, I used the Rosie Posie stamp set. I don't have the Step 2 stamps for the shading, so I just used a brush and some darker ink to add shading. The doodling was done with a Micron Pigma pen that was about out of ink, but I made it through. I added a few filler sketchy dandelions. The sky is the new PTI vellum and I popped up the finished panel in order to let the transparency of the vellum show up nicely.
The center uses the new Scene It:Skyscapes, and the little pop up tree, as well as the church diecut.
Sunday, January 25, 2015
Hodgepodge of Cards!
This post will include some of the cards I have made in November, December and January. Also, a bit of embroidery. For Christmas this year, I embroidered kind of a painterly snowman onto floursack dishtowels; for the little kids I embroidered the design onto barmop towels and then made those into pullover bibs. The snowman design is by Urban Threads. The American Eagle embroidery is a design by Strawberry Stitch. My son-in-law became an American citizen in December, and so I made him a card along with the embroidered towel to commemorate the occasion.
The die cut on a couple of the birthday cards is called Birthday Stack, by Poppystamps. The watercolored birds are from a new stamp set called Scribbly Birds by Dina Wakely. I used Twinkling H2O's to paint them, and CASE'd this card by mdferri. The doily diecuts are from the Papertrey die, Parisian Lace. And the houses diecuts are from the Brevilla House die, also by Poppystamps. Cloud diecuts are from Papertrey..the whales are Stampin Up. The flag stamp is from Papertrey's Friendship Jar Summer Fillers.


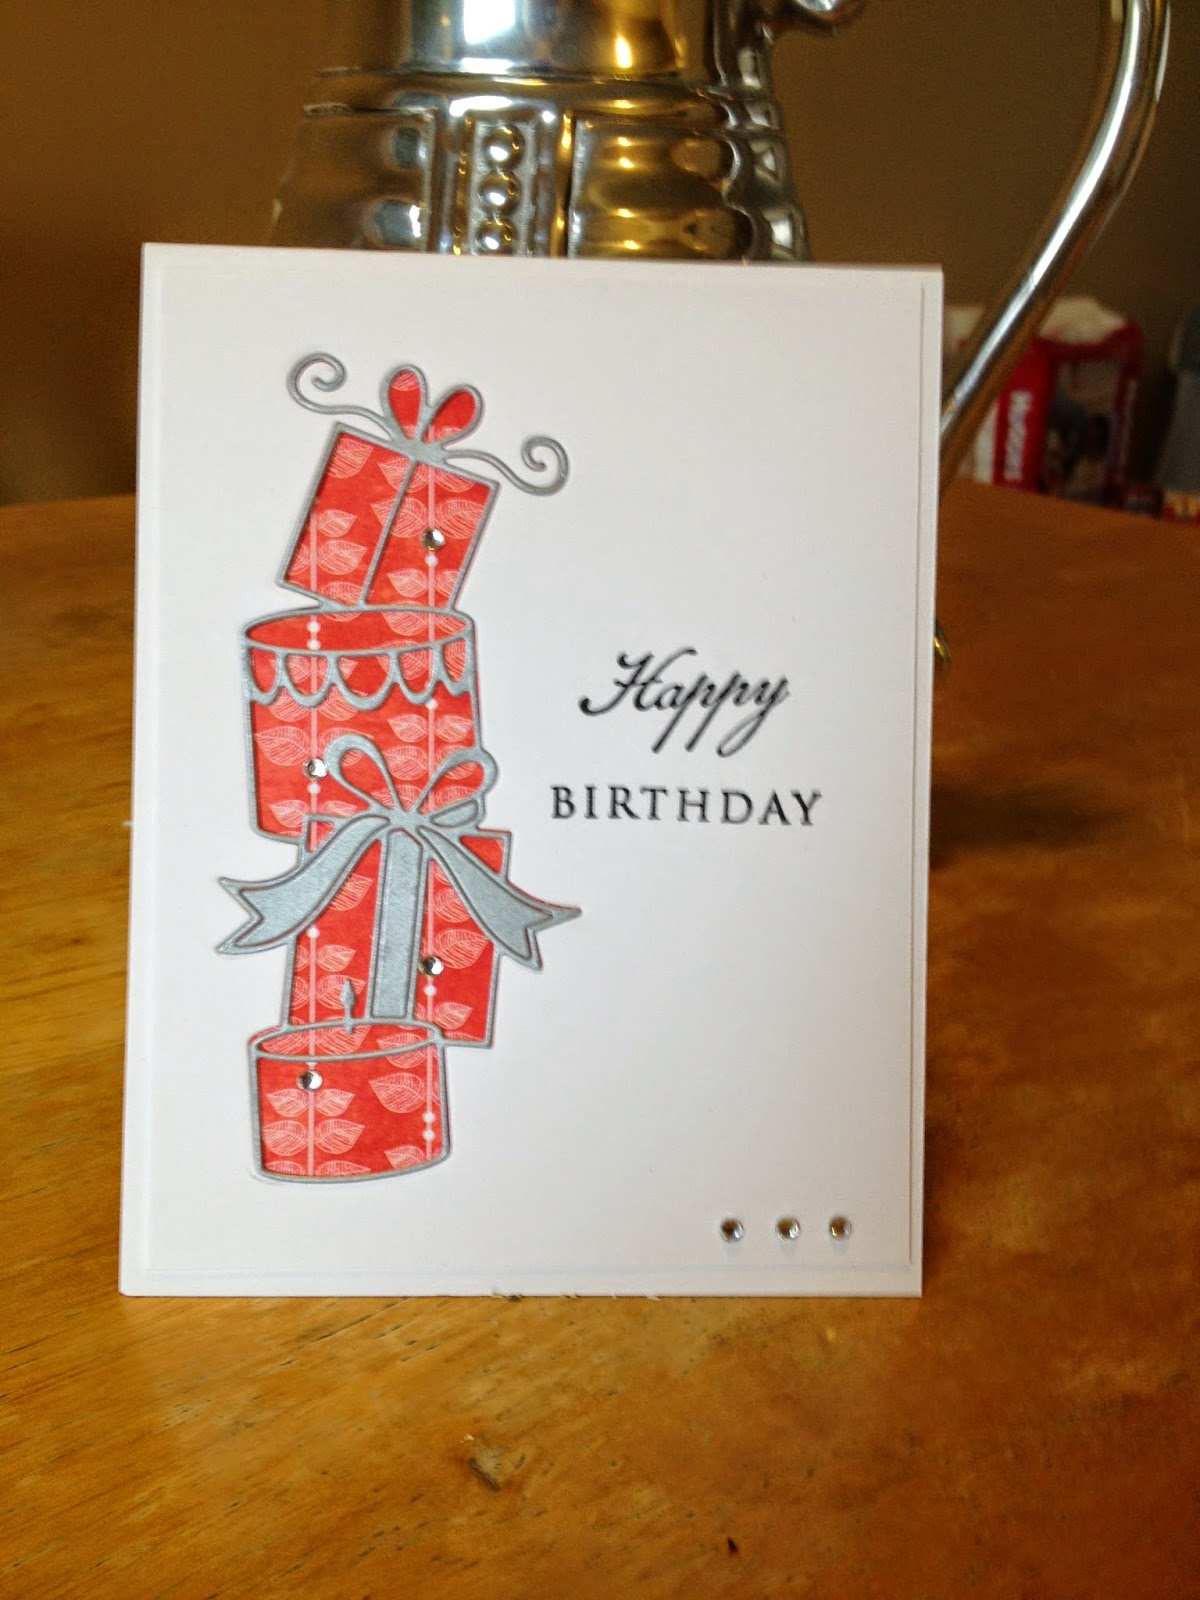


The die cut on a couple of the birthday cards is called Birthday Stack, by Poppystamps. The watercolored birds are from a new stamp set called Scribbly Birds by Dina Wakely. I used Twinkling H2O's to paint them, and CASE'd this card by mdferri. The doily diecuts are from the Papertrey die, Parisian Lace. And the houses diecuts are from the Brevilla House die, also by Poppystamps. Cloud diecuts are from Papertrey..the whales are Stampin Up. The flag stamp is from Papertrey's Friendship Jar Summer Fillers.
Sunday, January 18, 2015
Valentine's Gift
I had in mind to sew an assortment of fun gifts for my friend for Valentine's Day. I went to Hobby Lobby, and they had the perfect group of fabrics...prints consisting of cream, a cherry/apricot color, pale dusty pink, etc. I made a couple of drawstring bags, some "cord keepers" (tutorial from Made by Me & Shared with You blog). The cord keepers' tutorial is for a small keeper, which would work fine for something like the iPhone cord, but I also made several keepers in larger sizes for the heftier cords. I have made these string block quilted coasters before, directions coming from bari j blog.
To round out the gift, I included a couple of eos items...the lip balm in red container and the hand lotion in pink. I bought a stamp today at Michael's, and that is what I used to stamp the gift tag. I love using my new MISTI....it allows for such sharp images!
The finished gift, prior to attaching the gift tag:

The drawstring bags:

The various items....I love how these fabrics coordinate with each other.

The Michael's stamp, stamped onto PTI pink blush.

To round out the gift, I included a couple of eos items...the lip balm in red container and the hand lotion in pink. I bought a stamp today at Michael's, and that is what I used to stamp the gift tag. I love using my new MISTI....it allows for such sharp images!
The finished gift, prior to attaching the gift tag:
Sunday, October 5, 2014
Sewing Drawstring Bags
My friend, Linda, mentioned to me the other day just how much she loves a little drawstring bag I gave to her last year...that she uses it to hold electronics cords and other miscellaneous stuff, esp. when she travels.
I had recalled taking some photos of the construction process, so decided to do a little blog post. Disclaimer: There are many varieties of drawstring bags. This series of steps is the way I find works best for me. I have tried different methods over the years. This particular design might be the method used by others as well, but it is one derived by myself through trial and error, and is not "copied" from anyone else's pattern.


I had recalled taking some photos of the construction process, so decided to do a little blog post. Disclaimer: There are many varieties of drawstring bags. This series of steps is the way I find works best for me. I have tried different methods over the years. This particular design might be the method used by others as well, but it is one derived by myself through trial and error, and is not "copied" from anyone else's pattern.
Cut two pieces of fabric 12" x 9". Serge around all 4 sides of each piece.
With regular sewing machine and straight stitch, RST, stitch side seams (1/4" seam allowance)...BE SURE TO STOP 2" from top edge of bag on each side, and back-tack securely.
Press seams open and stitch down the seam allowances on that 2" open portion, to secure them.
Stitch bottom seam RST. (not shown) Bring bottom seam and side seam together and stitch across. Do this on both sides to form the gussetted bottom. You can stitch across at whatever depth you prefer. A small amount makes a small bottom to the bag, and a larger amount will make a squattier bag.
Fold & press top edge down 1" and stitch around to form the casing.
Cut two 24" lengths of white cotton cording. Thread them thru the casings and knot them, to form a drawstring closure.
These bags can be made in any size. The nice thing with serging the edges is that you won't experience any fraying. A larger size would make a nice shoe bag. Smaller sizes might work well for stashing jewelry in a suitcase.
Subscribe to:
Posts (Atom)